

250th Anniversary of the American Revolution - by Ron Gibbs
Step 0 of 0
1

Overview of Presentation
2

CNN & Wolf Blitzer
3

Colonial News Network
4

Separated at Birth?
5

.
6
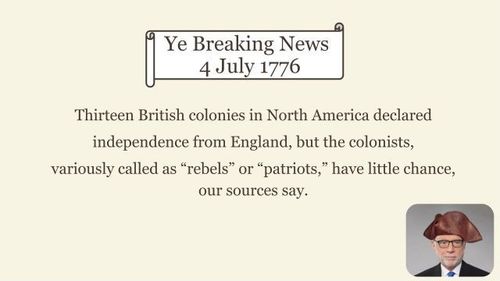
Ye Breaking News
7
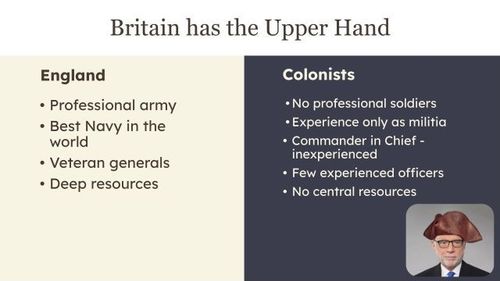
Britain Has The Upper Hand
8

The British Dominions
9
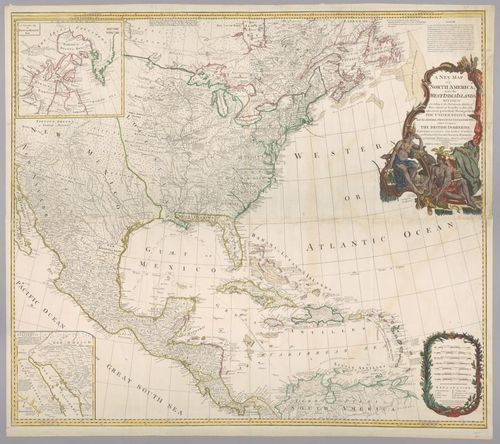
A New map of North America with the West India Islands - Jane and Ronald Gibbs Collection
10

Boston and Environs
11
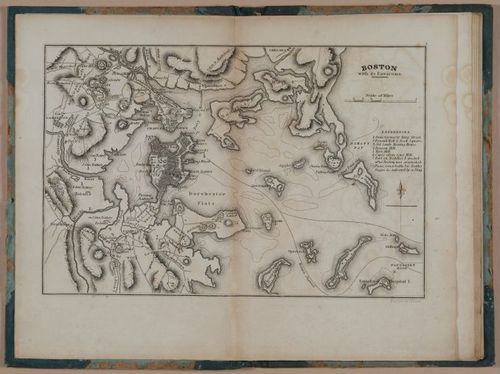
Boston with its Environs - from Atlas to Marshall’s Life of Washington
12
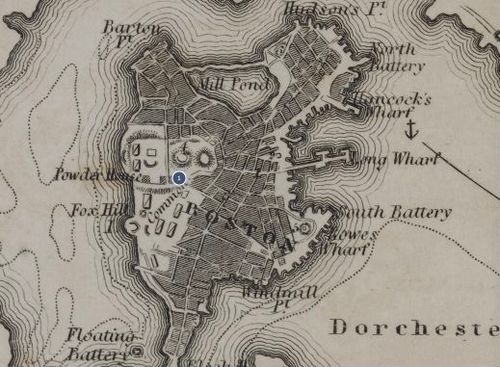
Boston with its Environs Dot 1
13
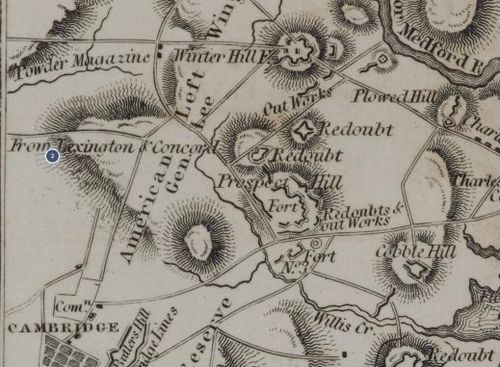
Boston with its Environs Dot 2
14
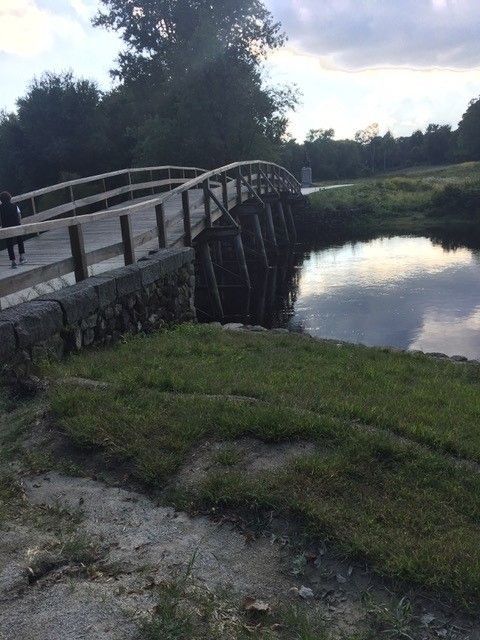
Concord Bridge
15
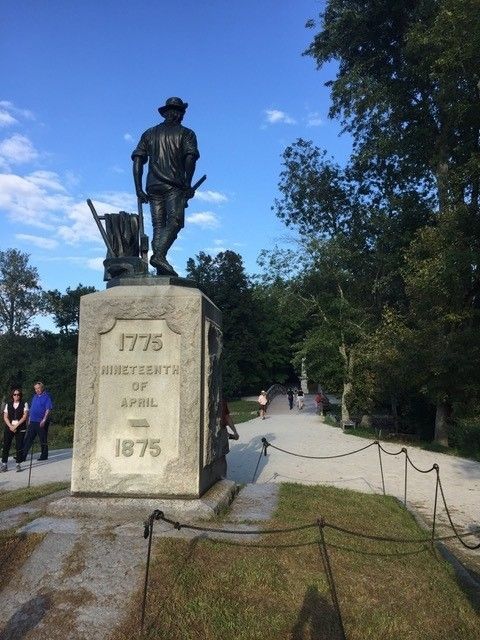
Minuteman
16
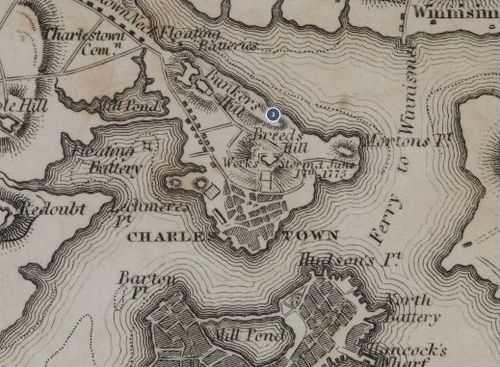
Boston with its Environs Dot 3
17
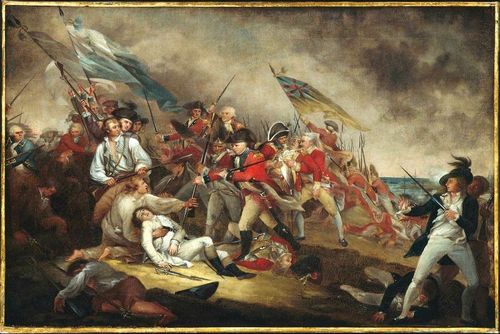
The Death of General Warren
18
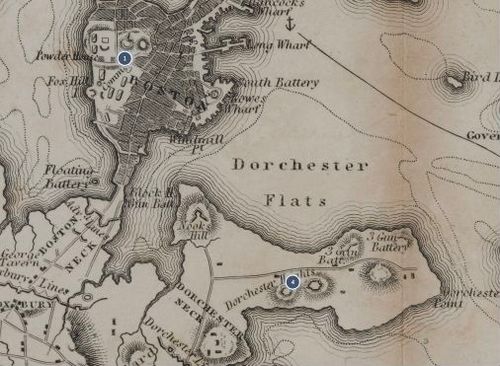
Boston with its Environs Dot 4
19
Northern Campaign
20

Northern Army - Atlas to Marshall’s Life of Washington
21
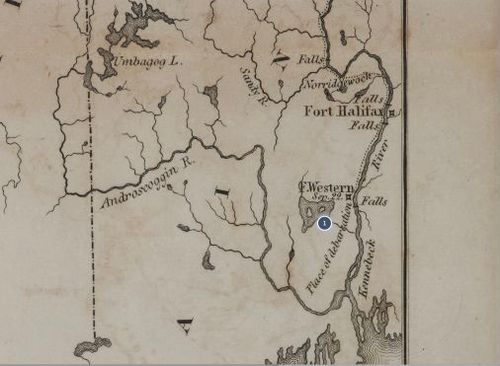
Northern Army - Atlas to Marshall’s Life of Washington 1 Dot 1
22
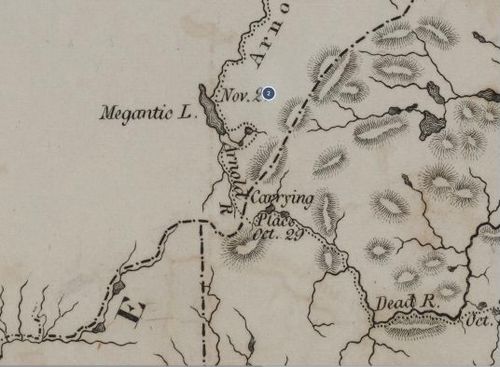
Northern Army - Atlas to Marshall’s Life of Washington 1 Dot 2
23
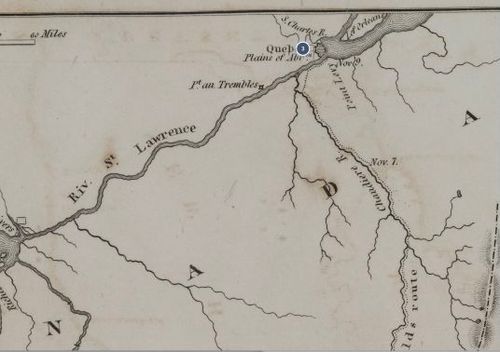
Northern Army - Atlas to Marshall’s Life of Washington 1 Dot 3
24
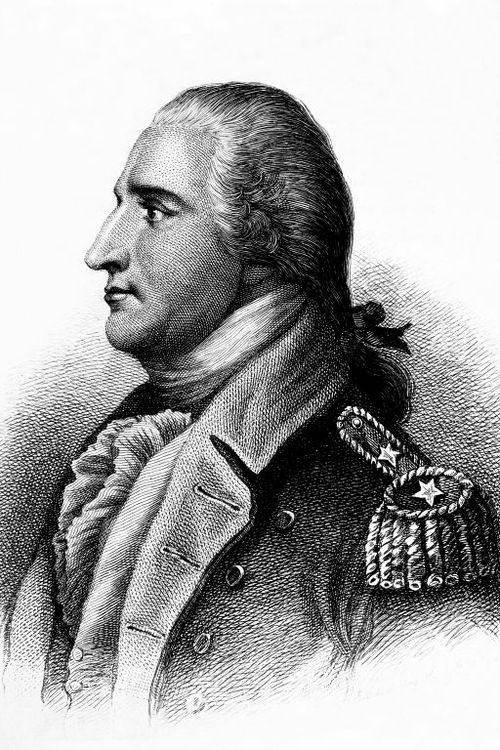
Benedict Arnold
25

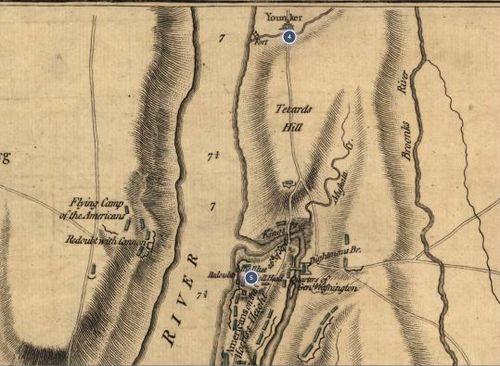
New York Campaign 1776
26
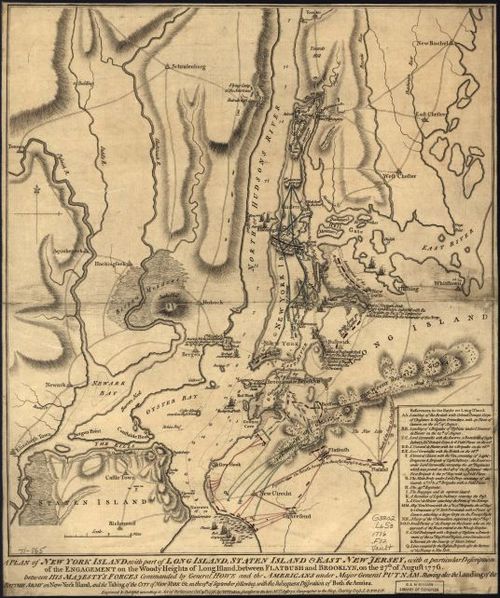
1776 New York Campaign Map
27
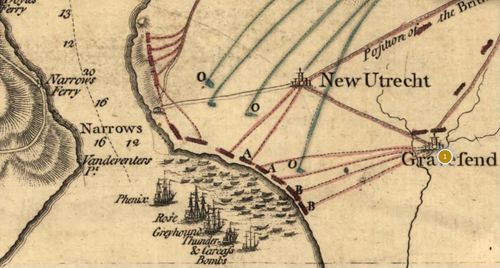
1776 New York Campaign Map Dot 1
28
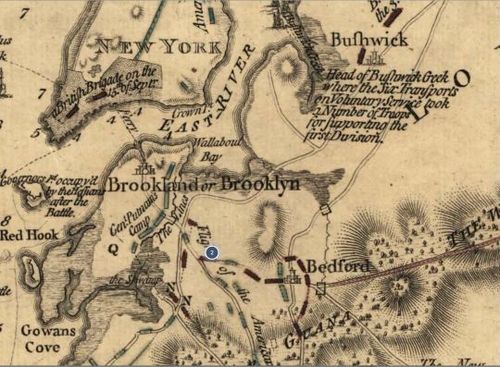
1776 New York Campaign Map Dot 2
29
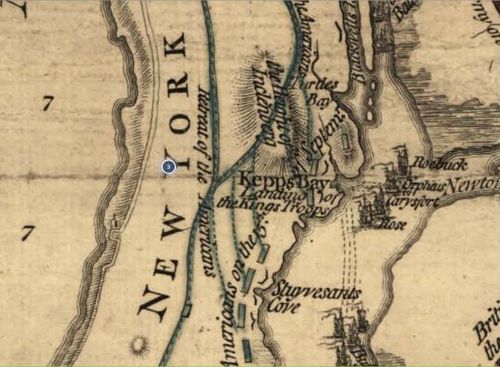
1776 New York Campaign Map Dot 3
30

A View from Kip's Bay Looking East
31
1776 New York Campaign Map Dot 4
32
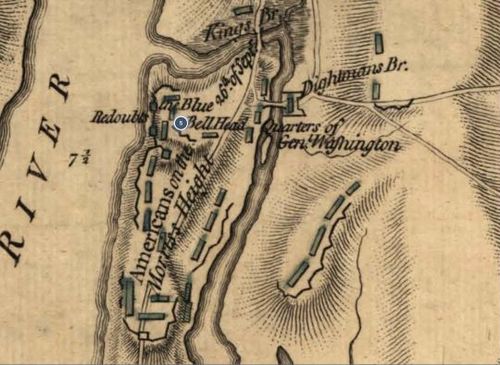
1776 New York Campaign Map Dot 5
33
Trenton and Princeton
34
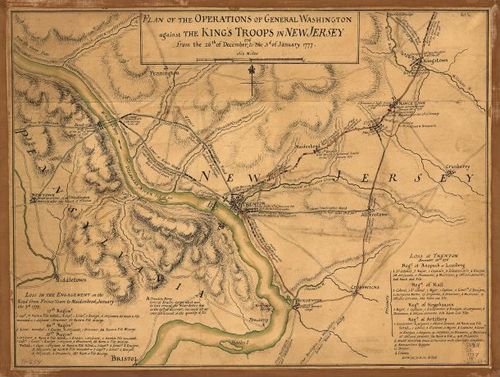
1777 Trenton Map
35
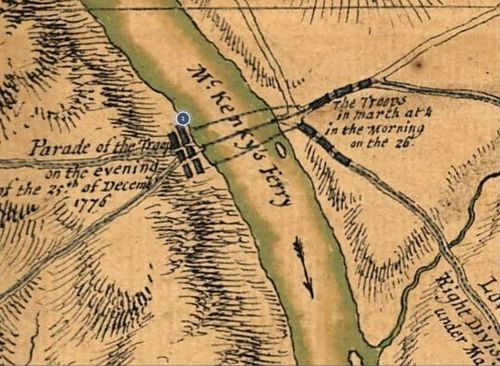
1777 Trenton Map Dot 1
36
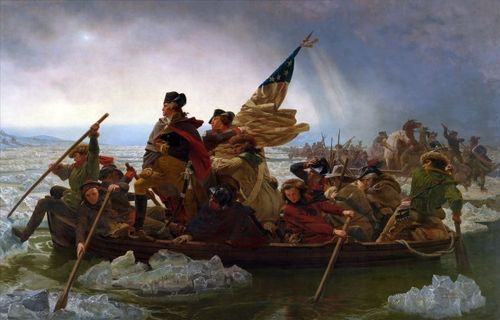
1851 Emmanuel Leutze - Washington Crossing the Delaware
37
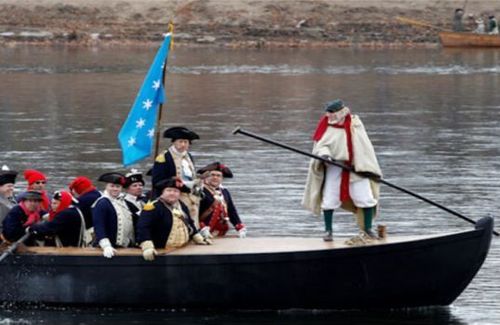
Re-enactment Showing the Durham Boat
38
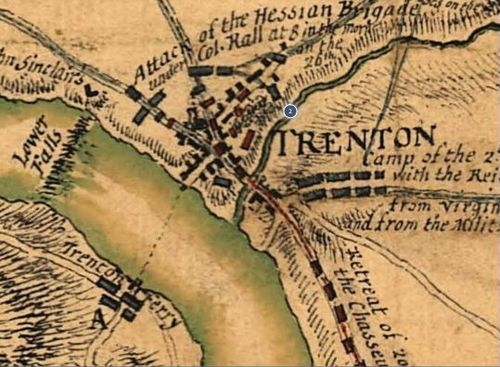
1777 Trenton Map Dot 2
39
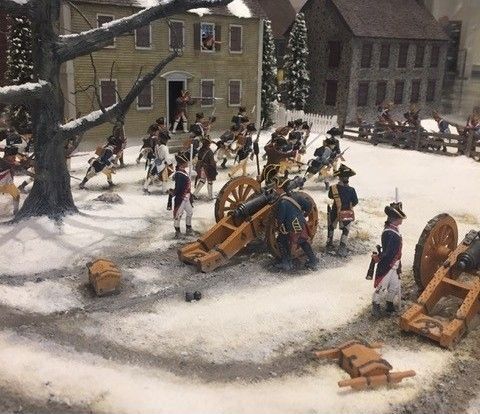
Artillery at Trenton
40
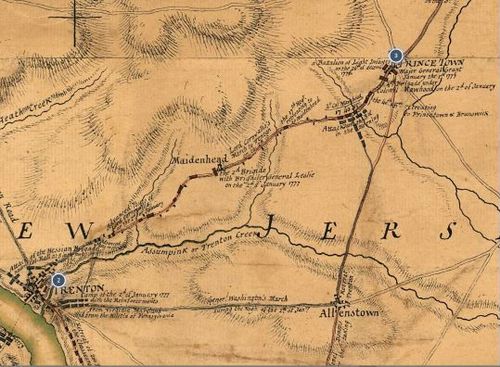
1777 Trenton Map Dot 3
41
Charleston S.C. 1776
42

Charleston - Atlas to Marshall’s Life of Washington
43
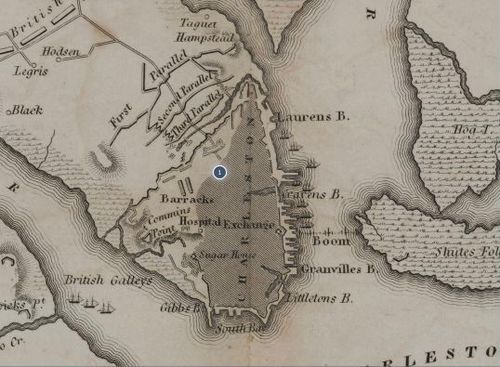
Charleston - Atlas to Marshall’s Life of Washington Dot 1
44

Charleston - Atlas to Marshall’s Life of Washington Dots 2, 3, 4a
45

Philadelphia
46
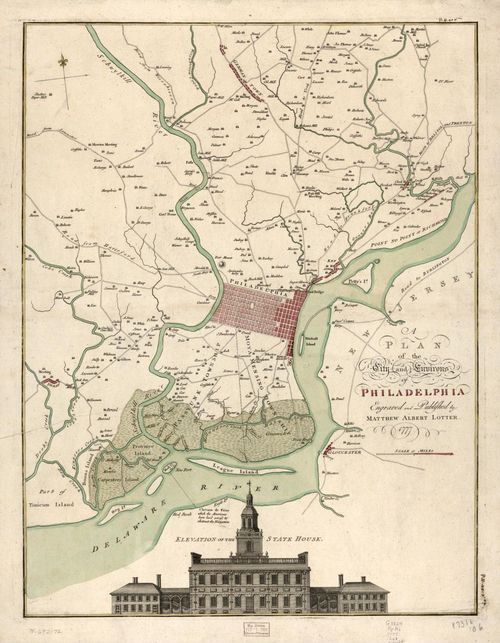
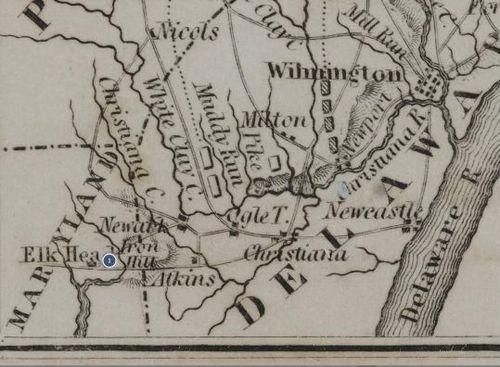
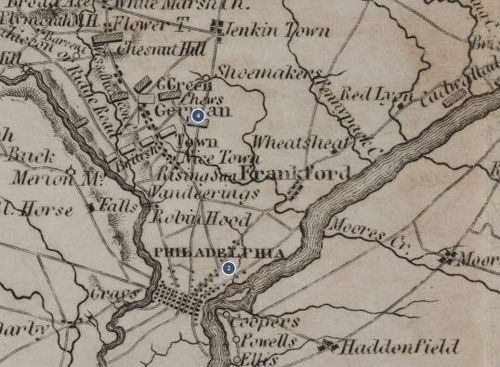
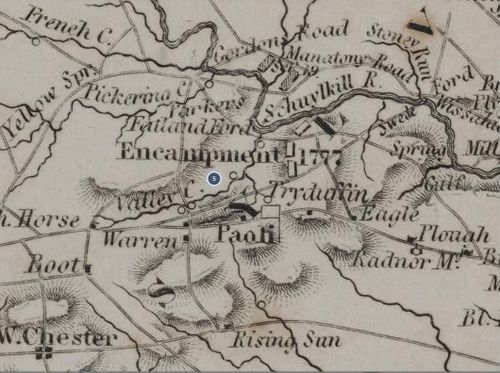
Philadelphia
47
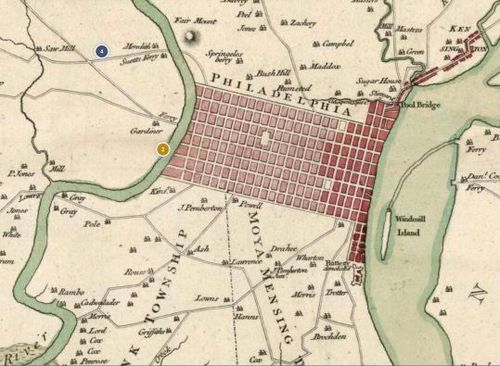
Philadelphia Dot 1
48
Philadelphia Dot 2
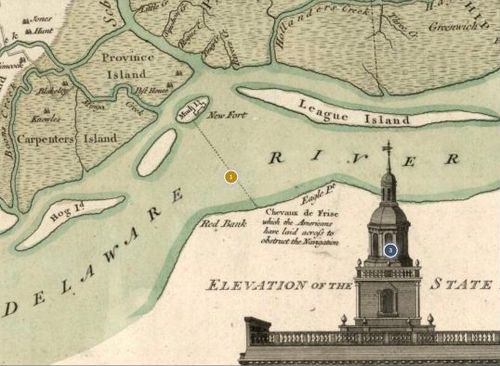
49
Philadelphia Dot 3
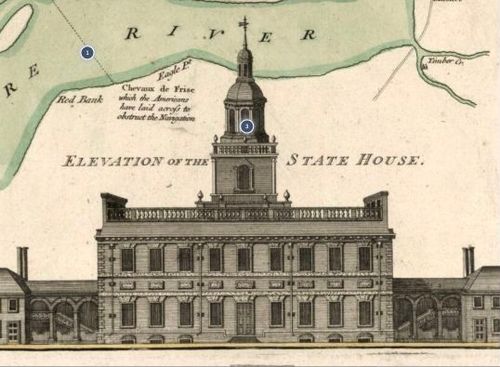
50
Philadelphia Dot 4
51
Philadelphia Campaign 1777
52
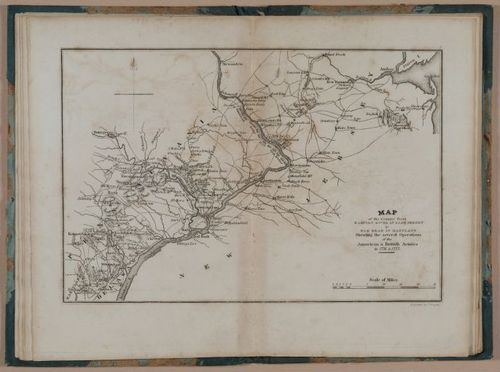
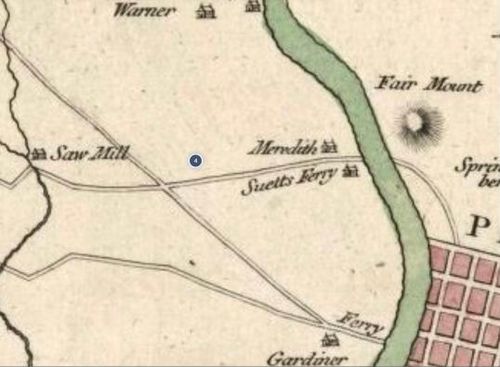
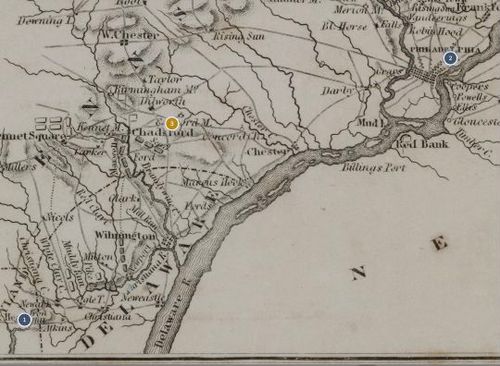
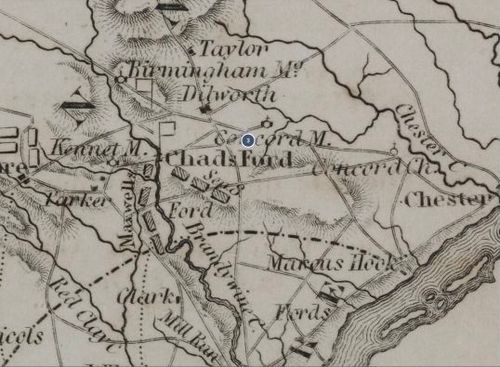
Raritan River - Atlas to Marshall’s Life of Washington
53
Raritan River - Atlas to Marshall’s Life of Washington Dot 1
54
Raritan River - Atlas to Marshall’s Life of Washington Dot 2
55
Raritan River - Atlas to Marshall’s Life of Washington Dot 3
56
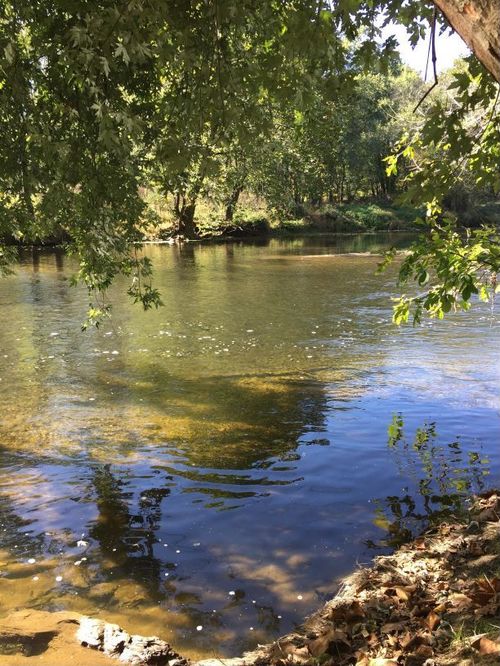
Brandywine Creek at Chad's Ford
57
Raritan River - Atlas to Marshall’s Life of Washington Dot 4a
58
Raritan River - Atlas to Marshall’s Life of Washington Dot 5
59
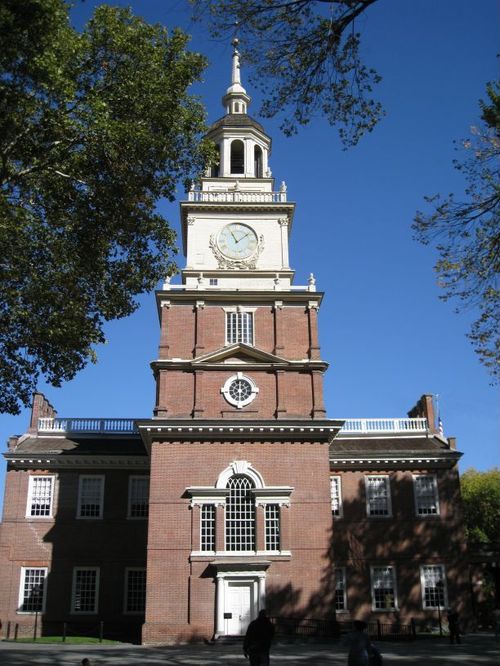
Independence Hall
60
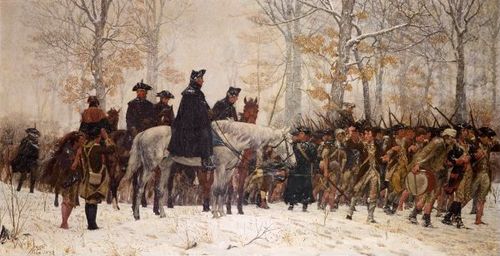
The March to Valley Forge - Trego
61
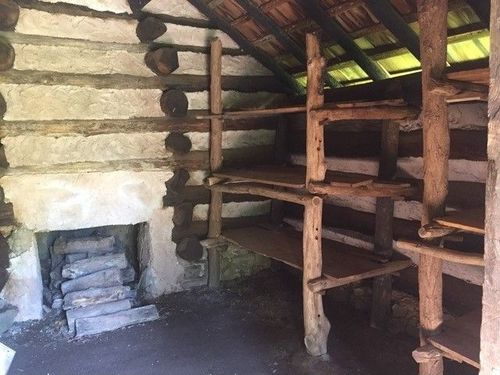
Valley Forge Hut
62
Northern Campaign 1777
63

Northern Army - Atlas to Marshall’s Life of Washington
64
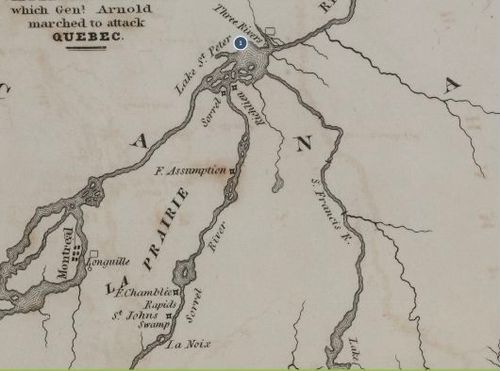
Northern Army - Atlas to Marshall’s Life of Washington Dot 1
65
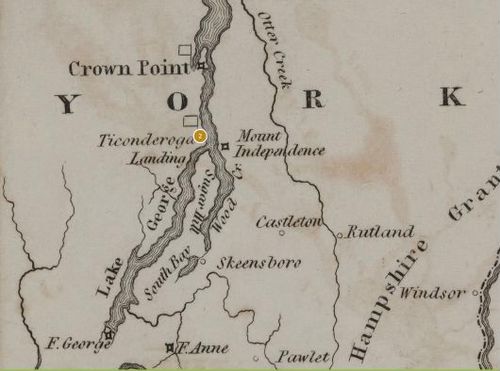
Northern Army - Atlas to Marshall’s Life of Washington Dot 2
66
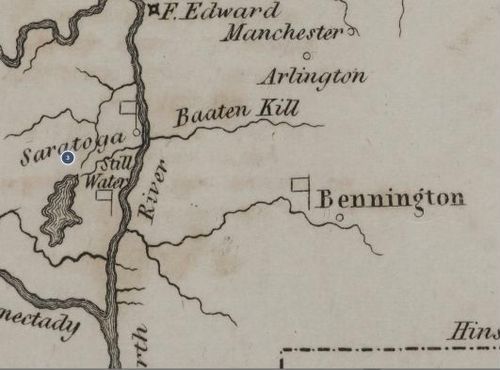
Northern Army - Atlas to Marshall’s Life of Washington Dot 3
67
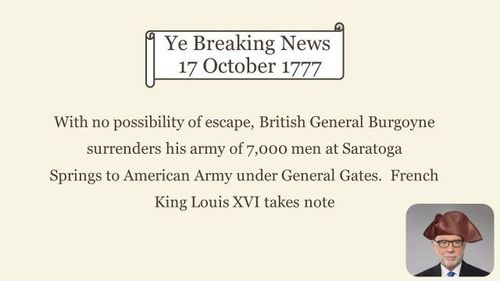
Ye Breaking News 17 October 1777
68
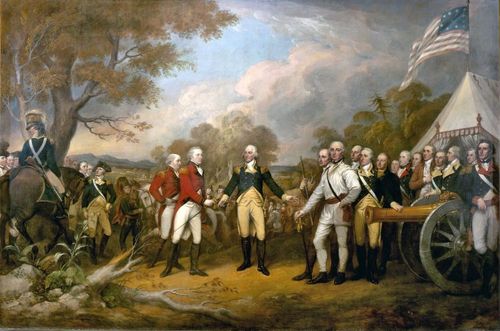
Surrender at Saratoga of General Burgoyne
69
Charleston, S.C. 1780
70
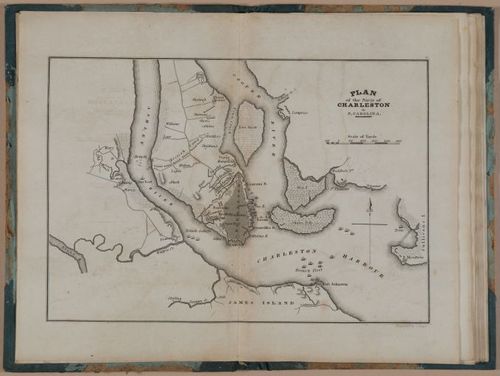
Charleston - Atlas to Marshall’s Life of Washington
71
Yorktown, Virginia, 1781
72
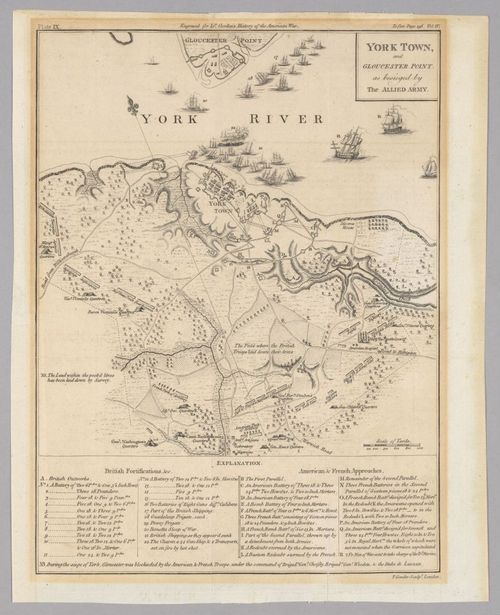
Yorktown and Gloucester Point
73
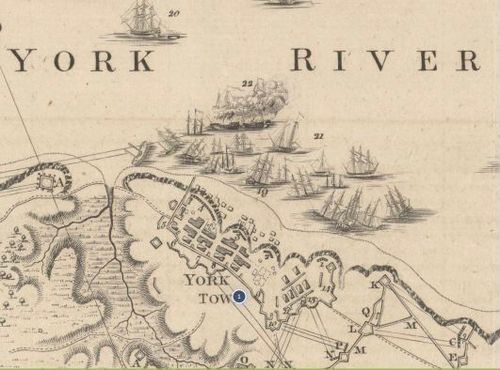
Yorktown and Gloucester Point Dot 1
74
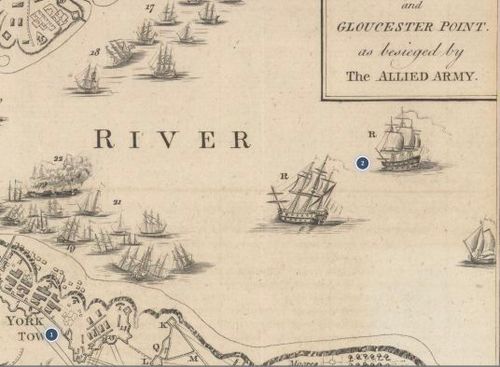
Yorktown and Gloucester Point Dot 2
75
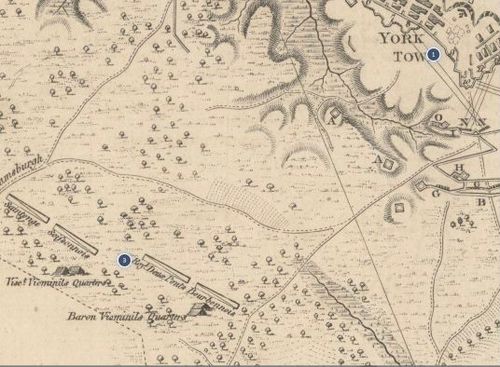
Yorktown and Gloucester Point Dot 3
76
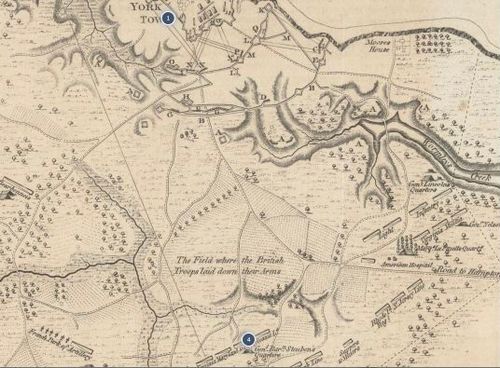
Yorktown and Gloucester Point Dot 4
77
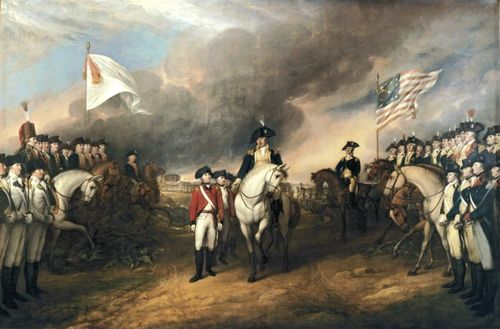
Surrender at Yorktown
78

The United States, 1783
79
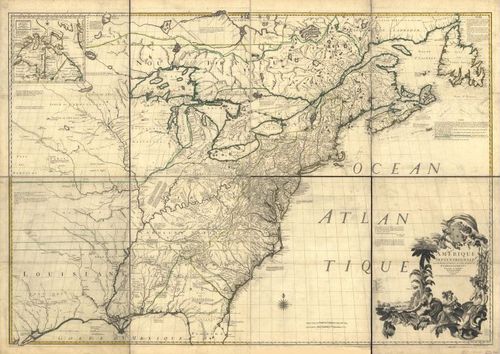
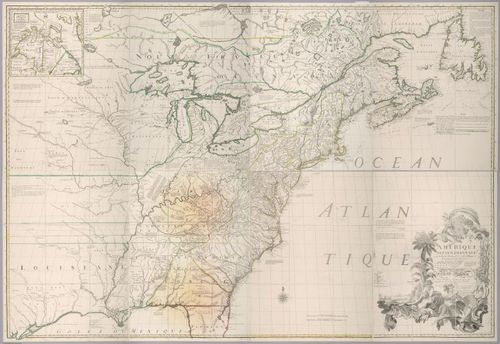
Amérique septentrionale avec les routes, distances en miles, limites et etablissements françois et anglois,
80

Ye Breaking News 3 September 1783
81

Why The British Lost
82
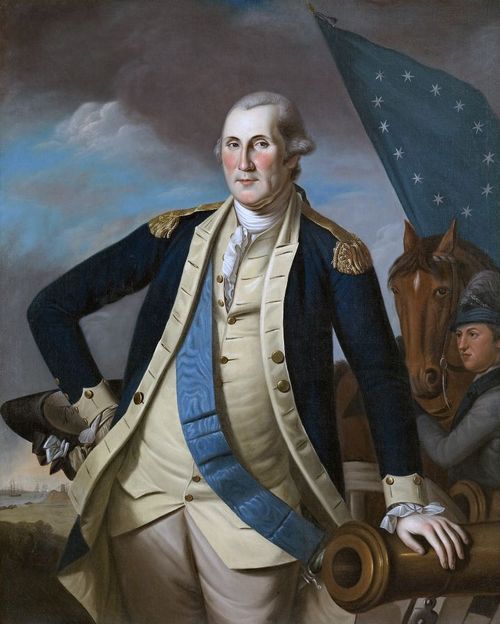
Portrait of George Washington
83
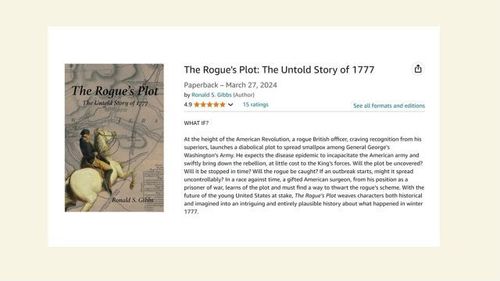
The Rogue's Plot
84
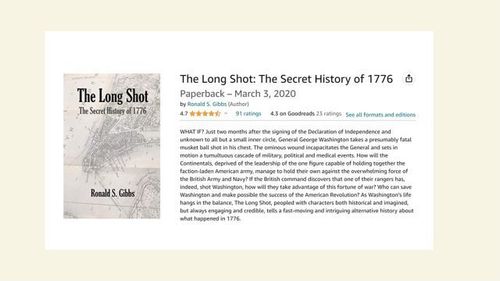
The Long Shot
85

Ron Gibbs
86

The Long Shot and The Rogue's Plot
87
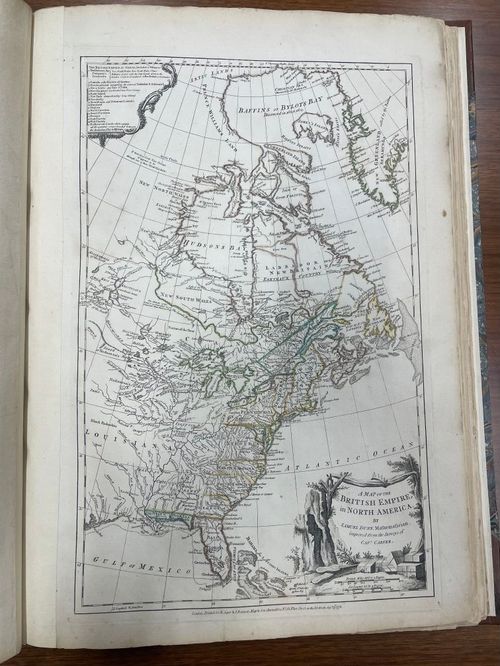
A Map of The British Empire
88
Mitchell Map - i7521
Place a DOT on the image